How to Paint a Tarp Masterpiece (Summer Bucket List Series)
This year, we're making our summer epic…
And every epic adventure needs a banner.
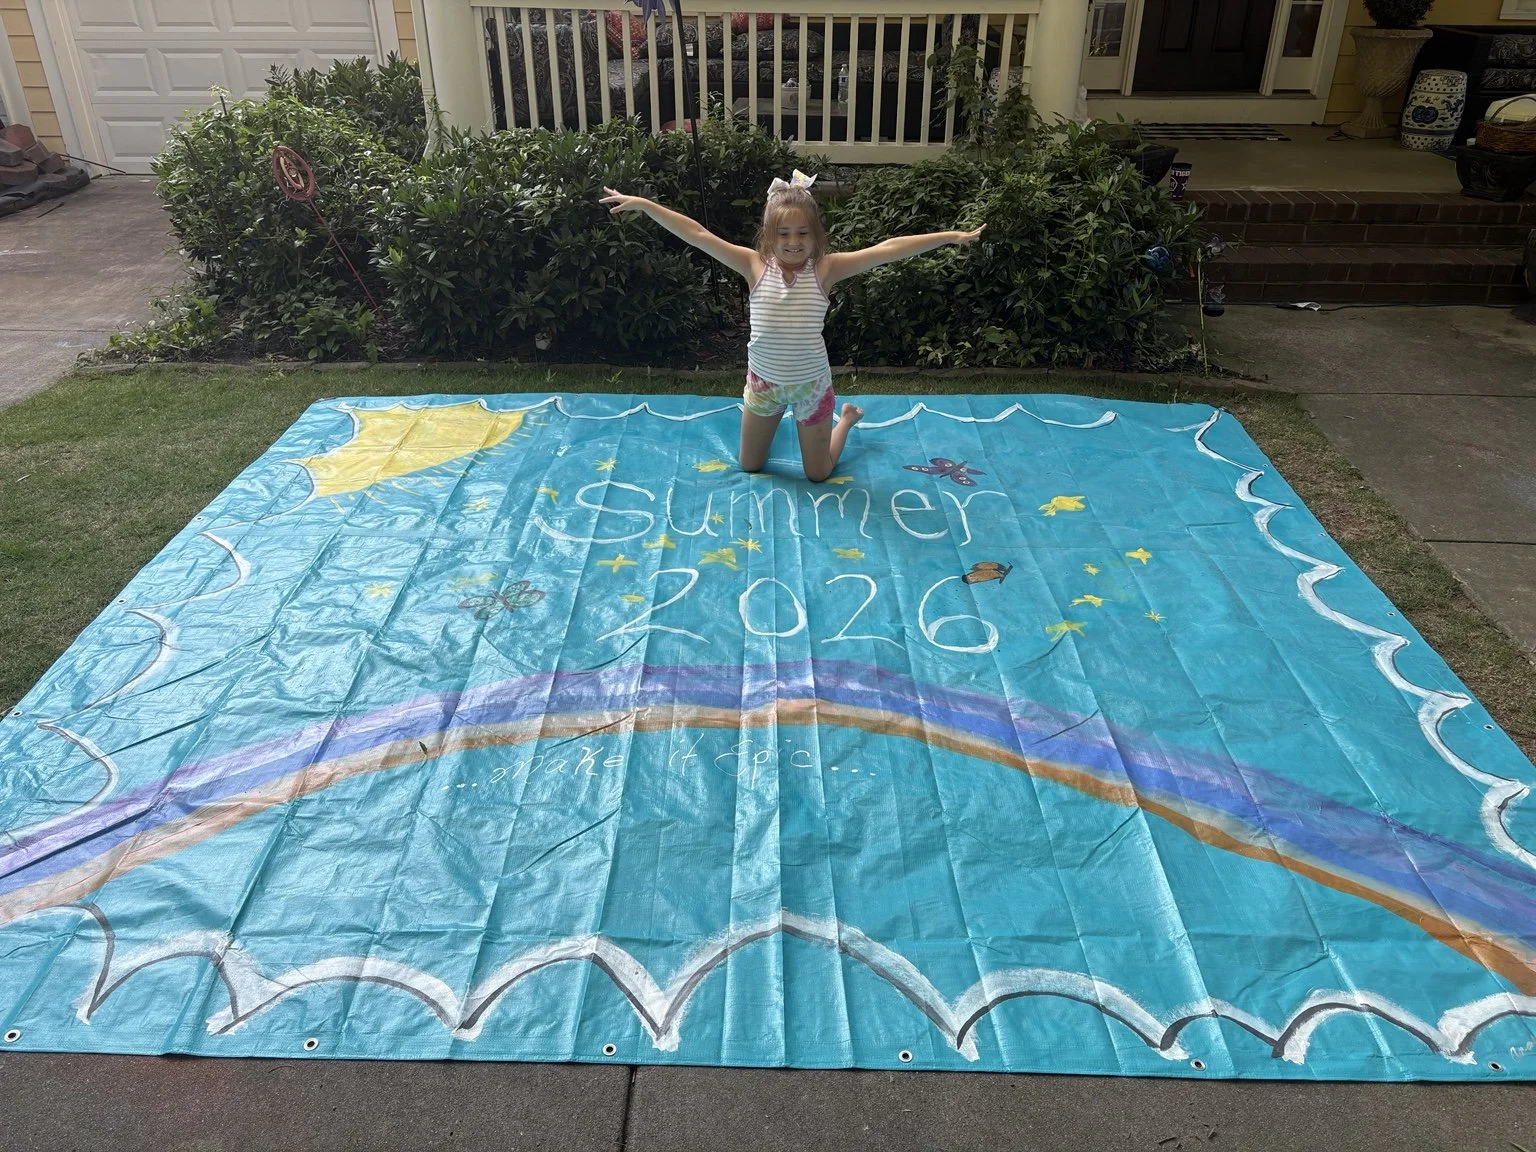
Yesterday, Sophie and I rolled a big turquoise tarp—seriously, the prettiest tarp ever—across the driveway, cracked open every bottle of paint we could find, and made ours.
It's like a giant vision board: all your hopes and dreams for the summer, painted in glitter and sparkles. And honestly? It's one of my favorite things we've made all year.
Here's how we did it—and why it might be the easiest, most-used craft of your whole summer.
Why painting a tarp is the craft that keeps on giving…
A painted tarp isn't a craft you finish and forget. It's your home base for the entire summer.
Once it's dry, it becomes the thing you reach for again and again — the picnic blanket, the movie-night backdrop, the stargazing mat, the splash base under the backyard water park, the field for family Olympic night. We're actually taking ours to our Greenway concert tonight for a giant picnic under the stars.
You don't buy something like that. You make it.
What You Will Need
Nothing fancy. That's the whole beauty of it.
1 big poly tarp — ours was about 9x12. Go thicker if you can. My Favorite HERE
Any acrylic paint you already have lying around — craft paint, leftover bottles, the half-dried ones in the back of the cabinet. Truly, whatever you've got.
Foam brushes + a few regular brushes in a couple of sizes
Paint pens — great for adding highlights
Paper plates for a palette, cups of water, and rags
Spray glitter
Spray matte polyurethane — this is the hero ingredient
A gentle warning: wear clothes you've already made peace with. No good outfit survives this.
How to Paint a Tarp:
1. Spread it out
Roll your tarp out in whatever flat space you've got—driveway, patio, grass. That's it. No sketching, no prep, no wiping it down. Tarps are forgiving. Just start.
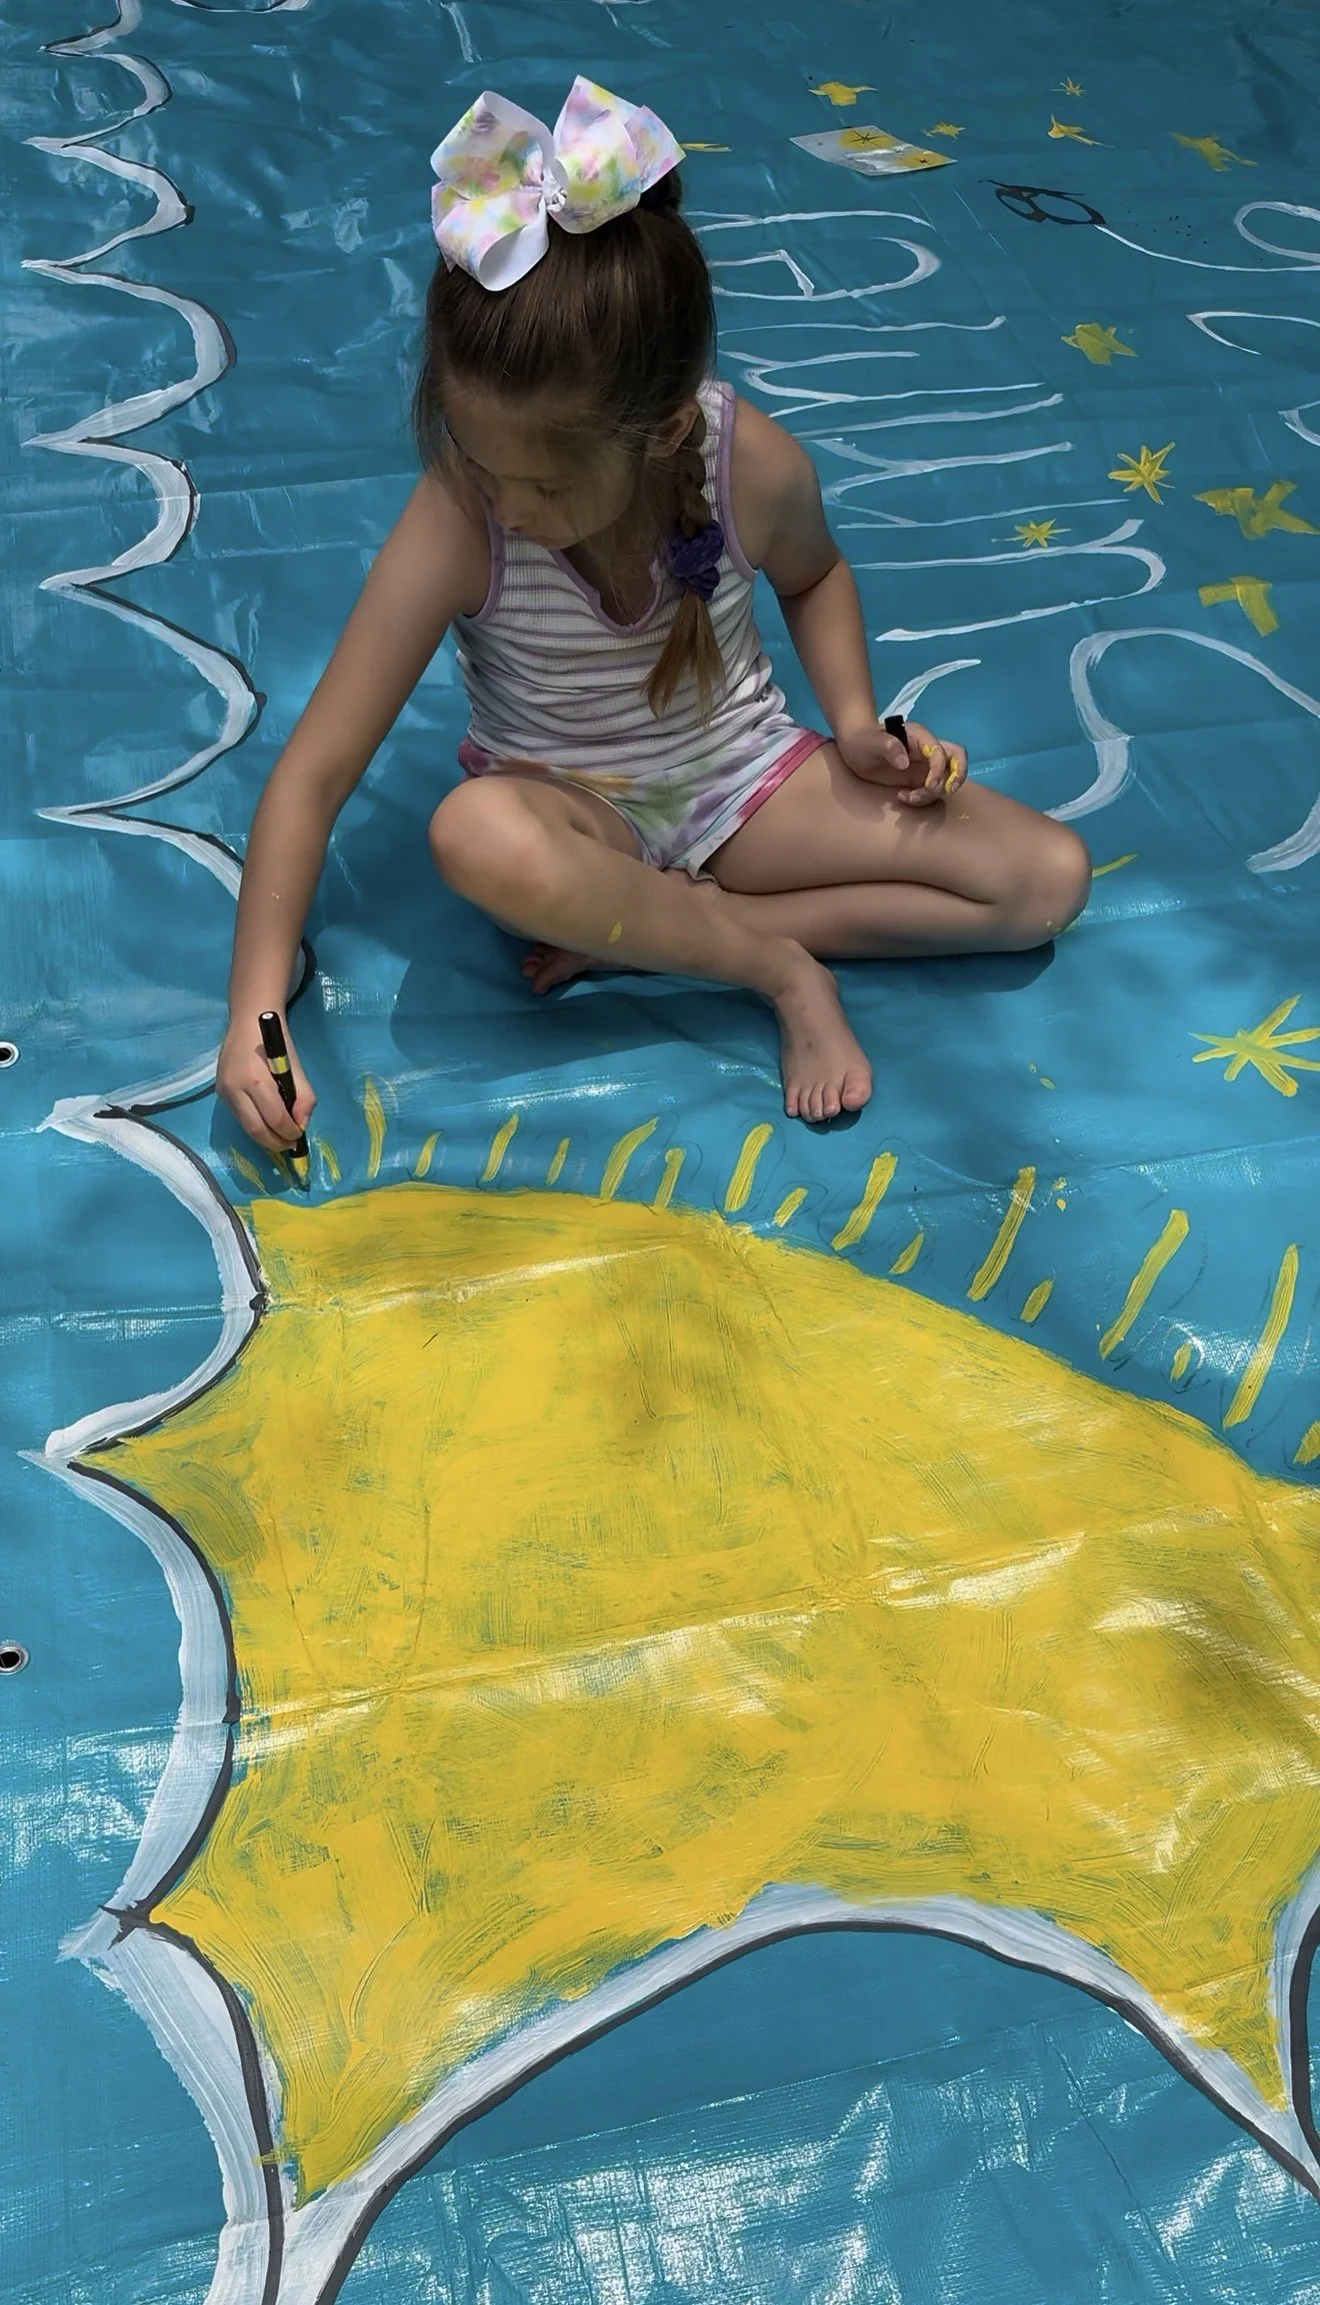
2. Paint the border first, then work your way in
Start with the border, then move from the outside in, filling in your big shapes as you go. Use whatever acrylic you've got and let the brushstrokes show — the wobbles are the charm. (Paint pens are great for popping in highlights and outlines.)
3. Add the joy layer
Now the fun part—stars, butterflies, sparkles, whatever your kid is dreaming up. Go back in with glitter glue if you want extra shimmer. This is where it stops being a tarp and starts being theirs.
4. Let it dry (it's quick)
Here's the surprise: it dries fast—about five minutes in warm, low-humidity weather. Just touch-check it. We let ours sit for about an hour, and then started spraying.
The trick that makes it last (and survive the hose)
You don't need fancy fabric paint. The durability isn't in the paint — it's in how you set it.
Once it's fully dry, mist the whole thing with spray glitter to lock in the color and add shimmer, then hit it with several coats of spray matte polyurethane, letting each coat dry before the next.
Those poly coats are what make it water-resistant enough to handle dew, picnics, sticky popsicle hands, and getting splashed all summer as the base of our water park. Don't skimp on the coats — the more you layer, the longer it lives.
Make it your own
Not feeling a summer vision board? A few directions worth stealing:
A giant game mat — hopscotch, a checkerboard, big colorful dots
A beach or ocean scene with waves, a sun, a little sailboat
A galaxy for stargazing nights
A bucket list you can check off all season long
Ours epic Summer Bucket List Tarp is rolled up by the door right now, ready for tonight's picnic and every barefoot, firefly-chasing evening between now and the very last day of summer.
Go Make Yours!
By: Amanda Fleming Taylor